I love making bread. I’ve been making homemade bread since I was a teenager. That’s a long time.
We’ve got 3 pages of terrific yeast bread recipes on Farm Bell Recipes and yet I know there are those folks who are still afraid to jump in the bread making bowl. Kerrie had a great post, Falling in Love with Bread Again, a couple weeks ago–there seems to be quite a few people who like the no-knead type of breadmaking, also!
I’ve got a recipe that produces a wonderful bread with a terrific crunchy crust and tender inside AND it’s also a no-knead bread. In fact, it takes less than 2 minutes to mix this bread. Let’s get started.
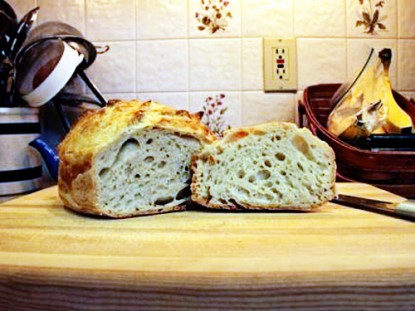
How to make Simple, No Knead Bread:
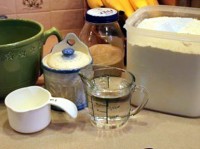 The ingredients are simple:
3 cups of flour
1 1/4 teaspoon salt
1/4 teaspoon yeast
1 1/2 cups water
Measure your flour into a mixing bowl.
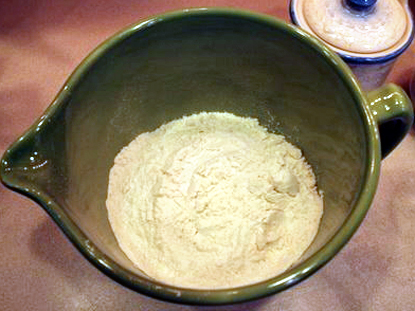
Add your salt and yeast. That’s not a typo, this recipe only uses 1/4 teaspoon yeast.
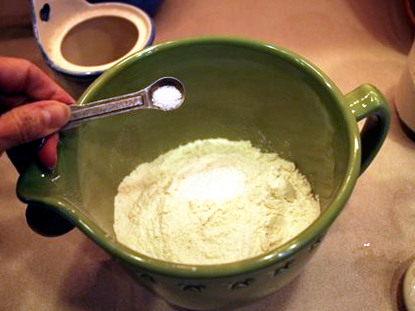
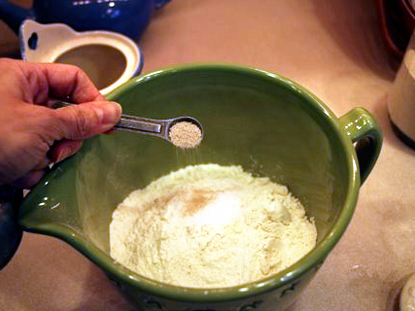
Mix dry ingredients to combine.
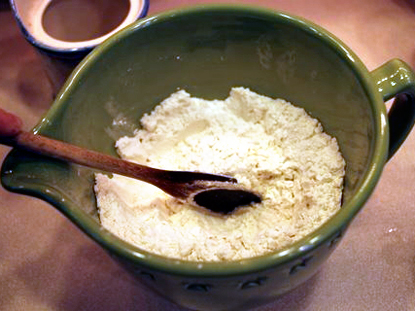
Add your water.
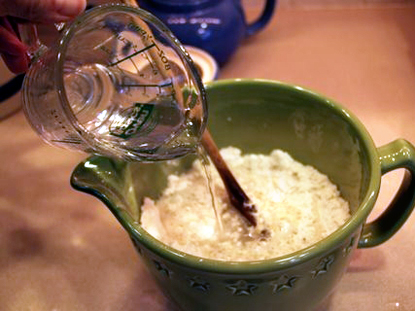
Stir until all the flour is mixed thoroughly.
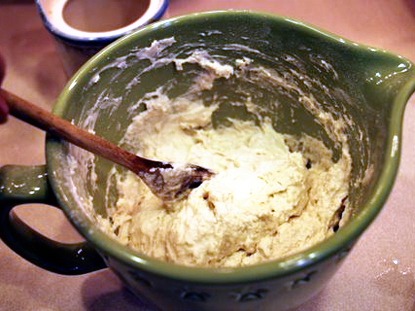
Cover the bowl with plastic wrap and sit it somewhere for 12-18 hours. Not too hard so far is it?
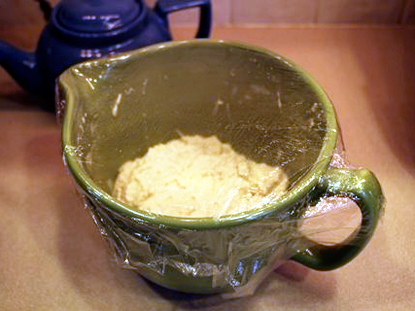
The next morning your bread dough will look like this:
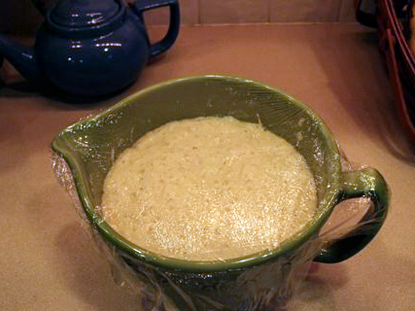
See all the wonderful bubbles?
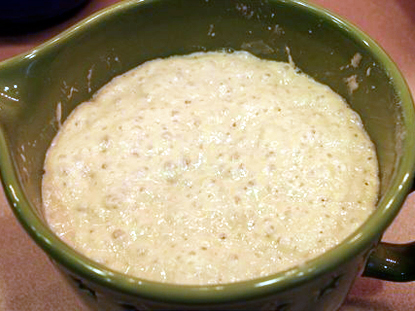
That tiny bit of yeast worked itself through the dough and has basically done all the kneading for you. Take a straight-sided ceramic dish or cast iron pot and place it in a cold oven with the lid on.
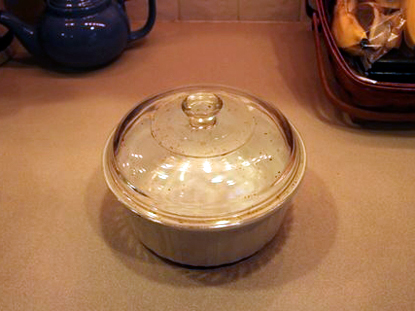
Allow this to heat for at least 30 minutes at 475 degrees. Dust the top of the dough with a bit of flour,
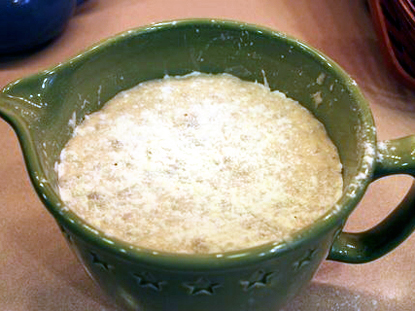
and smoosh it down in the bowl with a spatula.
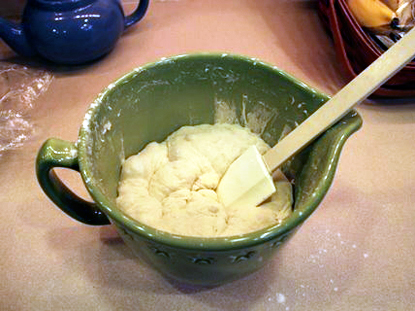
You want to deflate the bubbles. Take your very hot dish from the oven. Remove the lid and dump your dough into the heated dish.
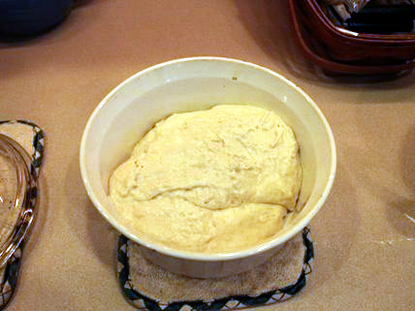
Don’t be surprised it the dough sizzles. Put the lid on the dish and place back in the heated oven for about 30 minutes.
After 30 minutes, take the lid off the dish and turn the temperature to 425 degrees. Bake for another 10-15 minutes. The time depends on how brown and crusty you like your bread.
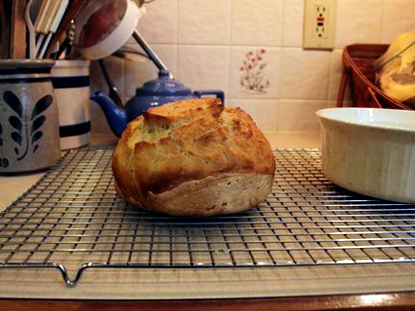
This bread took me less than 2 minutes of actual hands-on time and that included taking the pictures.
This recipe works just as wonderfully with whole grain flours also. One of our favorites is spelt, oatmeal and a bit of white flour. I’ve made 100% whole wheat using this exact recipe.
The original recipe called for punching the dough down and allowing it to rise for an hour or two. One day when I was making this, but not thinking, I just punched the dough down and immediately dumped it into the heated dish. I was afraid that I’d ruined the loaf of bread. Instead, the loaf baked up just as beautifully as all my other loaves. Being basically lazy, I figured why bother with that step if it didn’t make a difference in the final product?
The original recipe called for the oven to be heated to 500 degrees. That made the crust too dark and hard for my family’s taste. This is the time and temperature that works for us. Try different temperatures and times until you find what your family likes.
If I have my sourdough-starter going, I just add a blob of starter instead of the yeast. Works just as wonderfully as yeast.
We’re really happy with this bread and I hope your family enjoys it as much as we do.
Get the handy print page and save this to your recipe box here:
Simple, No-Knead Bread.
You can also find Kelly at Yahoo’s Canning2 Group.
Do you have a recipe post or kitchen-related story to share on the Farm Bell blog?
Read information here for Farm Bell blog submissions.
Want to subscribe to the Farm Bell blog? Go here.


Casid says:
wonderful! this is the same recipe I use for no-knead bread. always turns out great. i received a clay-baker for Christmas to bake it in and it turns out excellent in it!!
On February 21, 2011 at 10:10 am
jerseylady says:
Sounds like a plan to me.I am off to the kitchen. Thanks!
On February 21, 2011 at 10:12 am
MrsFuzz says:
The only real difference a second rising would make is that your bread will taste a bit more tangy. It just allows the flavor to develop a bit more. Unless you’re a complete bread fiend who tastes bread like a somalier tastes wine, or you’re tasting two loaves side by side, you’ll probably never know the difference. 🙂
On February 21, 2011 at 10:45 am
Anita says:
Casid – do you soak your baker first, before you put the bread in it? I have one, but only know how to use it to cook chicken.
Also, I’m wondering what would happen if you greased the sides of the baking dish with some butter first. Would that make the crust too soft?
On February 21, 2011 at 10:45 am
CountryDreams says:
Love it! I’m gonna try this!
On February 21, 2011 at 11:16 am
pnycat says:
This could easily be the jumping off point for me if I can find the correct size pan/dish. What size is your dish? It looks like the French Corningware group. Can you provide size or dimensions of your dish?
Thanks,
Dee
On February 21, 2011 at 1:05 pm
Mrs.Turkey says:
This is the same recipe that my husband & I use when we want a different type bread recipe. We love it…so simple to do and delicious to eat. We use our cast iron dutch oven. Comes out nice and crusty….we butter it well when it comes right out of the oven so it isn’t too too crusty.
Mrs. Turkey
On February 21, 2011 at 2:27 pm
lavenderblue says:
I wondered about greasing the pan, also. Doesn’t the bread stick? I also would have to scout for a usable pan, must go to garage sale this spring.
On February 21, 2011 at 2:36 pm
lavenderblue says:
Uh, that’s sales, sales…
On February 21, 2011 at 2:37 pm
kellyb says:
Casid and lavenderblue,
Sorry, I couldn’t answer because I was at work. I’ve never greased my dish when making this bread and I’ve never had any problems with sticking EXCEPT for the time I forgot to preheat the dish. Bread stuck to that like concrete. I think as long as your dish is preheated for and extended time the bread won’t stick.
If you choose to grease your pan, be careful, it’s really hot.
On February 21, 2011 at 2:45 pm
kellyb says:
pnycat,
You are correct, my dish is the French Corningware group. That particular dish is a 1 1/2 quart size and the recipe works perfectly for that size dish. If you use a larger dish, just increase the recipe by a proportionate amount.
I’ve also used the old Pyrex casserole dishes that are straight sided and with the flat lid. I find them all the time at yard sales. The straight sides just make the loaf “taller”. Hope that helps.
On February 21, 2011 at 2:51 pm
kellyb says:
pnycat,
Oops, forgot the dimensions. The dish is 6 1/2″ inside diameter and 3″ high.
On February 21, 2011 at 2:54 pm
pnycat says:
Thanks Kelly. I would not have guessed that size, the bread looks larger. Maybe I will work up to the Grandmother bread and the holy grail of Cinnamon rolls that don’t have an after taste.
On February 21, 2011 at 2:59 pm
kellyb says:
pnycat,
The loaf is a very nice size. Give it a try and then make sure you try Grandmother bread, it’s delicious.
On February 21, 2011 at 3:14 pm
Mickie says:
I’m trying out this recipe with spelt and some yeast I made with raisins. **fingers crossed**
On February 22, 2011 at 7:56 am
kellyb says:
Mickie,
Are you using all spelt? If so, your bread will be very tasty but heavy. It makes a wonderfully dense loaf of bread, great with a hearty stew or soup. How did you make your yeast with raisins? You may need to allow the bread an even longer rising time than the 12-18 hours listed in the recipe if using sourdough or other “yeast”. When it appears all bubbly, you can probably move to the next step.
On February 22, 2011 at 9:10 am
Debbie says:
Yesterday I had my sweetheart make up the dough for me before he went to work in the afternoon so I could bake it this morning before I went to work.
It was so awesome to have the aroma of fresh bread wafting through the house this morning! It turned out so well that I made up a batch of dough and plan to make it this evening for dinner. This is delicious bread…and SO easy!
On February 22, 2011 at 12:21 pm
kellyb says:
Debbie,
I’m so glad you liked it. My daughter’s roommates would call and ask me to send/bring loaves of this bread for them. You know how starving college students are.
Experiment with this dough. I’ll often throw in some bits of dried tomatoes, some garlic & italian seasonings if I’m having pasta for dinner. Boy does the house smell good when that is baking.
On February 22, 2011 at 12:29 pm
Frankie says:
Hi! I love the simplicity of this bread.
I started the dough last night but ran into a problem. Following the recipe, I added the 1 cup of water to the flour mixture – but it barely moistened the flour. I had to add another cup of water to get it to look like the photo in your blog. Is there a typo in your recipe?
The dough this morning is raising and is full of air pockets. I’m hoping it will turn out – but I’d sure like to know if 3 cups flour is correct and/or is 2 cups water right or what?
I am thankful for your step by step directions and pictures – they saved the day! er… I mean dough.
Best, Frankie
On February 26, 2011 at 9:14 am
kellyb says:
Frankie,
Thank you for pointing out the error. The recipe should read 1 1/2 cups water. I’ll see if I can get that corrected. I’m sorry if I caused any problem. Your dough may just be a little wetter than mine, it shouldn’t be a problem at all. Thanks again for pointing this out.
On February 26, 2011 at 9:29 am
Kenya Cook says:
I have a question about the water temperature. Your recipe doesn’t say you use warm water. I am using this recipe to teach/get hubby to make bread.;) We did not warm the water like a normal recipe and it actually took 24 hrs for the bread to rise. Tasted great, but wonder what you do.
– Do you use warm water or straight from the faucet? We also only used 1 cup (plus a couple TBL) and now I see you call for 1-1/2. Could the extra water affect the rise?
On February 26, 2011 at 10:59 am
kellyb says:
I use water right from the tap. I do not warm the water. I made a mistake in the recipe, it requires 1 1/2 cups of water. It shouldn’t take 24 hours unless your house is really cold. It’s not like “regular” bread dough so don’t expect it to double in size. I will rise and get all bubbly. Please let me know how it turns out for you. My kids all now make this bread to impress their friends.
On February 26, 2011 at 2:45 pm
Ross says:
This is essentially the recipe that my sister uses regularly for her bread.
The ratio of three cups of flour and one of water is a good starting place if you are making bread without benefit of a recipe, it is much too dry but you can always add water. A cup and a half of water to 3 cups of flour is considered a fairly wet dough but still manageable. As we know from muffin making it is hard to get bread too wet.
On February 26, 2011 at 4:10 pm
kellyb says:
This is a very wet dough. You’ll often find it described as a super hydrated dough. It doesn’t resemble regular, kneaded dough at all. This is almost pourable.
Sorry to everyone about the mistake in the recipe. It should read 1 1/2 cups water. I sincerely apologize.
On February 26, 2011 at 4:19 pm
CindyP says:
The blog post AND the recipe have been updated to include the 1 1/2 cups of water.
On February 26, 2011 at 7:31 pm
Dede ~ wvhomecanner says:
How did I miss this!? AH it was this past week which was crazy here. GLAD I found it! Thanks Kelly, looks fabulous!
dede
On February 26, 2011 at 9:08 pm