
It’s time to bring the pumpkins in and process them for cooking. I love pumpkin and try to process it every year for pies, crisps, and soup.
There are a couple of ways to process pumpkin for use in pies, etc. You can bake it, or you can steam it. I like to steam it because it’s faster and this post is to show you how.
First cut it in half. This was an excellent, meaty pumpkin. Not many seeds, but a lot of flesh. Perfect for pies and soup.
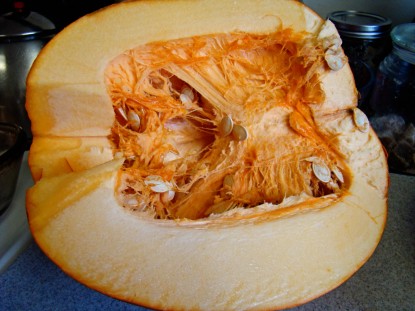
Scrape out the seeds. Don’t worry about getting all the stringy things out. Just get the seeds out.
Cut the pumpkin into wedges or strips. Then peel each strip with a vegetable peeler.
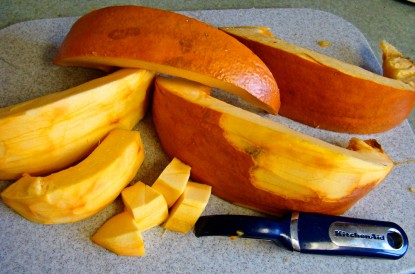
Cut each peeled strip into chunks. They can be big chunks, but not huge ones.
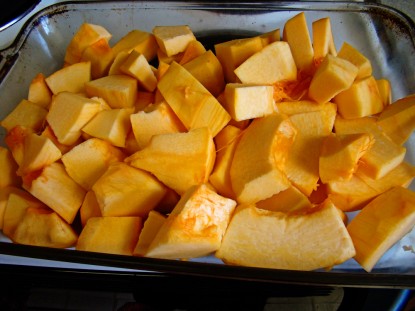
Steam the chunks until they are soft. You should be able to put a fork in them easily. They might begin to fall apart–that’s OK.
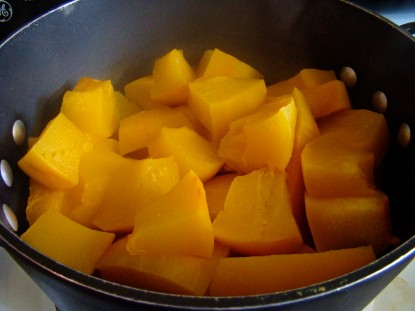
I use a little steamer basket that opens up to fit across the entire bottom of this big pot. Then I load the pot to the top with pumpkin chunks. They’ll cook down a bit as they steam.
Turn the heat on high enough to get a hard boil. Once it’s boiling well, you can cover the pot and turn the heat down. It only took me about 20 minutes to steam a big pot full. [I had two pots worth of pumpkin chunks.]
Once the pumpkin is good and cooked, I put it in a bowl and mash it up a bit with a potato masher before it goes in the blender.
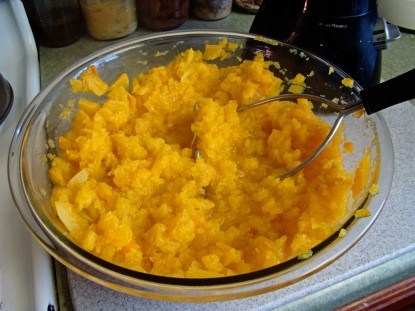
My blender is happier that way.
I filled it to the tippy top. Then I turned on puree to get…
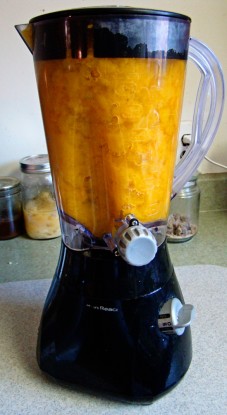
….this lovely pumpkin puree.
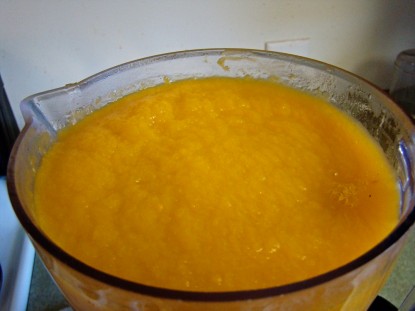
Now it’s ready to use in pie or soup or pumpkin butter or whatever else your heart desires.
So far we’ve used ours in soup and in pumpkin pancakes. I think a pumpkin crisp is on the menu for tomorrow. Yum!
Long term storage: Pumpkin is dense and low acid. If you want to bottle it up keep in your cupboard, then make sure you use your pressure canner, leave it cubed (don’t can pureed pumpkin, it’s too dense for proper heat penetration) and consult your local extension office or the Ball Blue Book for processing times.
If you want to long term store pumpkin puree, then you can freeze it until you’re ready to use it.
Editor’s Note: See the National Center for Home Food Preservation’s pumpkin/squash canning instructions here.
Robin from Rurification blogs at Rurification. Do you have a recipe post or kitchen-related story to share on the Farm Bell blog?
See Farm Bell Blog Submissions for information, the latest blog contributor giveaway, and to submit a post.Want to subscribe to the Farm Bell blog? Go here.


naturegirl1989 says:
I wash and quarter my pumpkin, remove all the seeds stringy stuff, place it in a baking pan skin side down, pour enough water in to cover the bottom of the pan and bake at 350 until tender, about 30 minutes or so depending on the size of the pumpkin. If the water evaporates out keep adding enough to keep the bottom covered so the pumpkin doesn’t burn. When the pumpkin is good and fork tender you should be able to scoop the pumpkin right out of the shells. Mash and puree.
I think its much easier than peeling and cubing. Just my 2 cents 😉
On November 3, 2011 at 8:04 am
stacylee says:
I used to bake it also, pumpkin and butternut squash and then gring it up for babyfood. My son LOVED it. I think roasting it brings out a sweetness.
On November 3, 2011 at 10:21 am
Country Girl @ Heart says:
Pumpkin Crisp sounds yummy. Thanks for sharing!
On November 3, 2011 at 10:44 am
lisabetholson says:
I can pumpkin for pies and bread, however I use the recipe I am going to make and add the amount of pumpkin and the amount of sugar and can. It keeps quite well and when I am ready to use it all I have to do is add the milk, spices and eggs.
NEVER, NEVER, NEVER add the egg before you are ready to put the food in the oven. It will spoil the product. You can tell by the slimy pour. Years ago I did it.
On November 3, 2011 at 1:46 pm