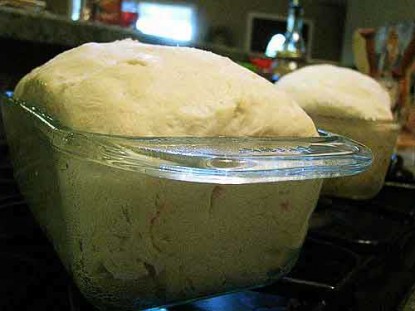
Having trouble getting your bread to rise? Try these tips for success!
Difficulty: Easy
Ingredients
yeast bread dough
Directions
Here are a few things to think about if you’re having trouble getting your yeast bread to rise. First, always, check your yeast for the expiration date. Also, if you use bulk-size yeast (which I do) and store it in the refrigerator, be sure to take it out in advance and let it come to room temperature so you aren’t adding cold yeast to your bowl. If your bread doesn’t rise and your yeast is good, the next thing to look at is the temperature of your water. Your water should be very warm, almost hot, but not boiling hot. You should be able to touch the water comfortably. (Water that is too hot will kill your yeast.)
If you’re brand new to bread-making and don’t trust yourself to the fingertip test for achieving the proper temperature with your water, hold an instant-read thermometer under the faucet as you’re running water. You want the water to be about 110 to 115 degrees.
Now, what is the temperature in your house as you’re making your bread? It’s hard to get bread to rise in a cold house. My favorite way to counter a cold house is to boil water in a small pot then place the pot on the lower baking rack of the (turned off) oven, place the bread on the top rack, and shut the oven door while the bread rises. I’ve heard other people say they heat the oven briefly on low (around 150 degrees), let it heat up then turn it off and set the bread inside to rise with the oven door open, which would also work just fine. Weather can be another factor. Low air pressure can affect rising time, so if it’s a rainy day, give your dough extra time or use one of the oven tricks as a helper. Also, be sure to knead your dough properly–inadequate kneading can hamper rising. And last but not least–did you forget to add the yeast? (That has even happened to me!)
One more thing–note this part of my Grandmother Bread directions: “….combine water, yeast, sugar, and salt. Let sit five minutes.” The technical term for this step is proofing the yeast. During this five-minute period, your yeast should bubble at least a little bit as it dissolves. If you see absolutely no activity, something is wrong with your yeast.
Categories: Breads, Tips & Tricks, Yeast Breads
Submitted by: suzanne-mcminn on July 27, 2010


Add Your Thoughts
You must be logged in to post a comment.